Stitch Logo Design: Everything You Need to Know

Stitch Logo Design: Everything You Need to Know
Have you ever noticed how a stitched logo can add a touch of class and authenticity to clothing, bags, or promotional items? Stitching logo design goes beyond simple printing; it's a way to create a tactile and visually appealing representation of your brand. With the rise in popularity of customized goods, understanding the intricacies of stitch logo design has never been more crucial for businesses looking to make a lasting impression. If you're looking for a unique way to make your logo stand out, exploring stitched logos is a great direction.
In this article, we will explore everything you need to know about stitch logo design. From understanding what it is and the benefits it offers, to crucial considerations for creating effective designs, we've got you covered. You'll learn why choosing a stitch logo design can be a game-changer for your brand. Plus, we'll walk you through the best practices for preparing your logo, ensuring a flawless stitched finish. By the end, you'll have the knowledge to confidently incorporate stitch logo design into your branding strategy.
Table of Contents

What is Stitch Logo Design?
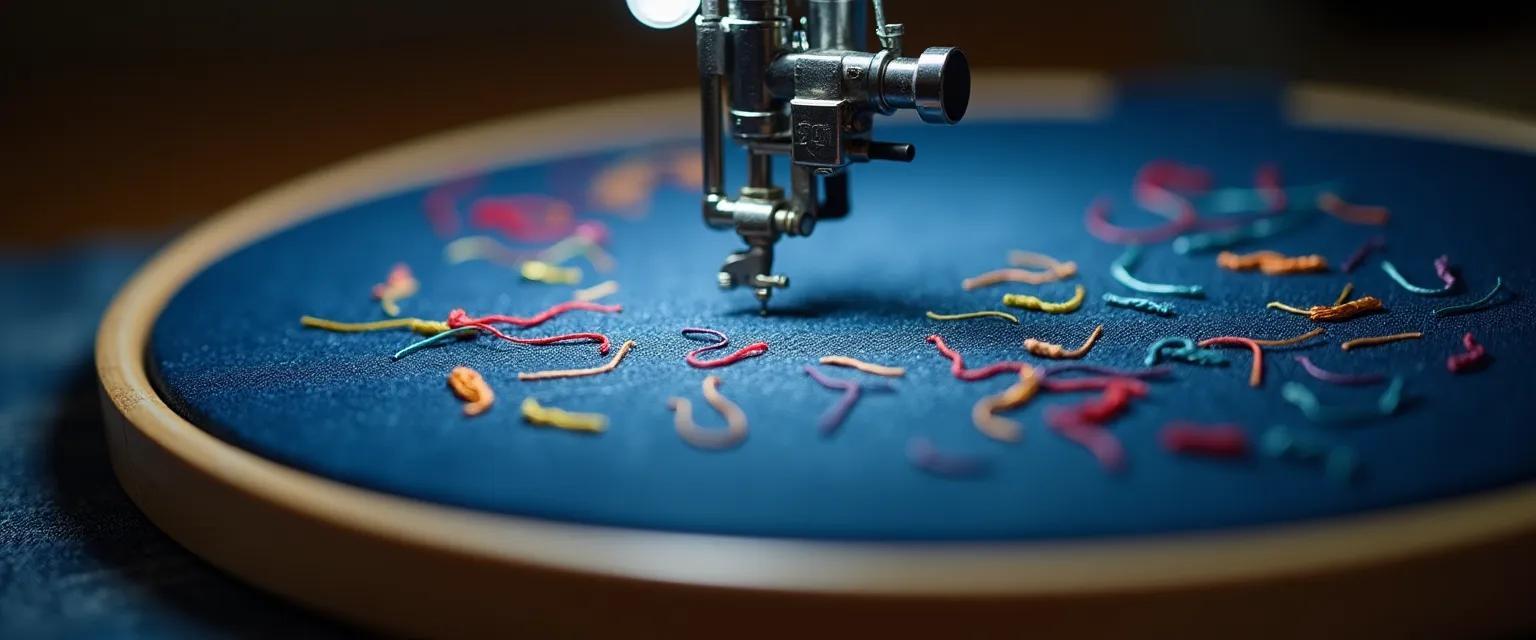
Stitch logo design, at its core, is the process of transforming a regular logo into a format suitable for embroidery. This involves digitizing the logo, which means converting it into a stitch file that an embroidery machine can read and use to create a physical, stitched version of the design. Instead of ink, the design is created using threads.
The Digitizing Process: From Vector to Stitches
The typical starting point for a stitch logo is a vector graphic. Vector files are preferred because they can be scaled without losing quality, which is important for creating a clear and detailed embroidered design. The process generally involves these steps:
- Vectorization: Ensuring the logo is in a vector format (like AI, EPS, or SVG).
- Import into Digitizing Software: Uploading the vector logo into specialized embroidery digitizing software.
- Stitch Assignment: Manually or automatically assigning stitch types (e.g., satin stitch, fill stitch, running stitch) to different parts of the logo. This step requires careful consideration to ensure proper coverage, texture, and visual appeal.
- Refinement and Editing: Adjusting stitch density, direction, and other parameters to optimize the design for the chosen fabric and thread.
- File Conversion: Saving the finalized design into a machine-readable format, such as DST, PES, or EXP, depending on the embroidery machine being used.
The digitizing process isn't as simple as converting one file type to another; it requires understanding how thread interacts with fabric to create a durable and visually appealing result. It's more akin to painting with stitches, choosing the right stitch type, density, and direction.
Why Businesses Choose Stitch Logos
Stitch logos offer several advantages, making them a popular choice for businesses, especially for apparel and promotional items:
- Durability: Embroidered logos are incredibly durable and long-lasting. Unlike printed logos that may fade, crack, or peel over time, stitched logos are designed to withstand frequent washing and wear, ensuring a professional look for years.
- Professional Appearance: Embroidery gives a high-end, professional look to clothing and accessories. The textured, raised effect of the stitching adds a touch of sophistication that's ideal for corporate branding, uniforms, and promotional merchandise.
- Versatility: Stitch logos can be applied to a wide range of fabrics and products, including shirts, hats, jackets, bags, and more. This versatility allows businesses to maintain a consistent brand identity across various items.
- Enhanced Brand Perception: Consumers often perceive embroidered logos as a sign of higher quality and value. This can strengthen brand identity and foster customer loyalty. Sportswear brands, for example, often use stitched logos to convey a sense of premium quality and durability.
For example, a construction company might choose to embroider its logo on employee work shirts for durability, while a high-end clothing brand might use embroidery on its apparel to create a luxurious feel. Ultimately, stitch logo design offers a blend of durability, visual appeal, and brand enhancement that makes it a valuable investment for businesses of all sizes.

Why Choose Stitch Logo Design?
When it comes to making your brand stand out, a stitch logo design can be a great choice. It offers a unique and professional look that can help your business make a lasting impression.
Advantages of Stitch Logos
Stitch logos, often created through embroidery, offer several advantages that other logo types simply can't match:
- Durability: Unlike printed logos that can fade, crack, or peel over time, stitch logos are incredibly durable. The thread is stitched directly into the fabric, creating a strong and long-lasting bond. This is especially important for items that are washed frequently or exposed to harsh conditions. Embroidered logos can withstand heavy use and maintain their appearance for years.
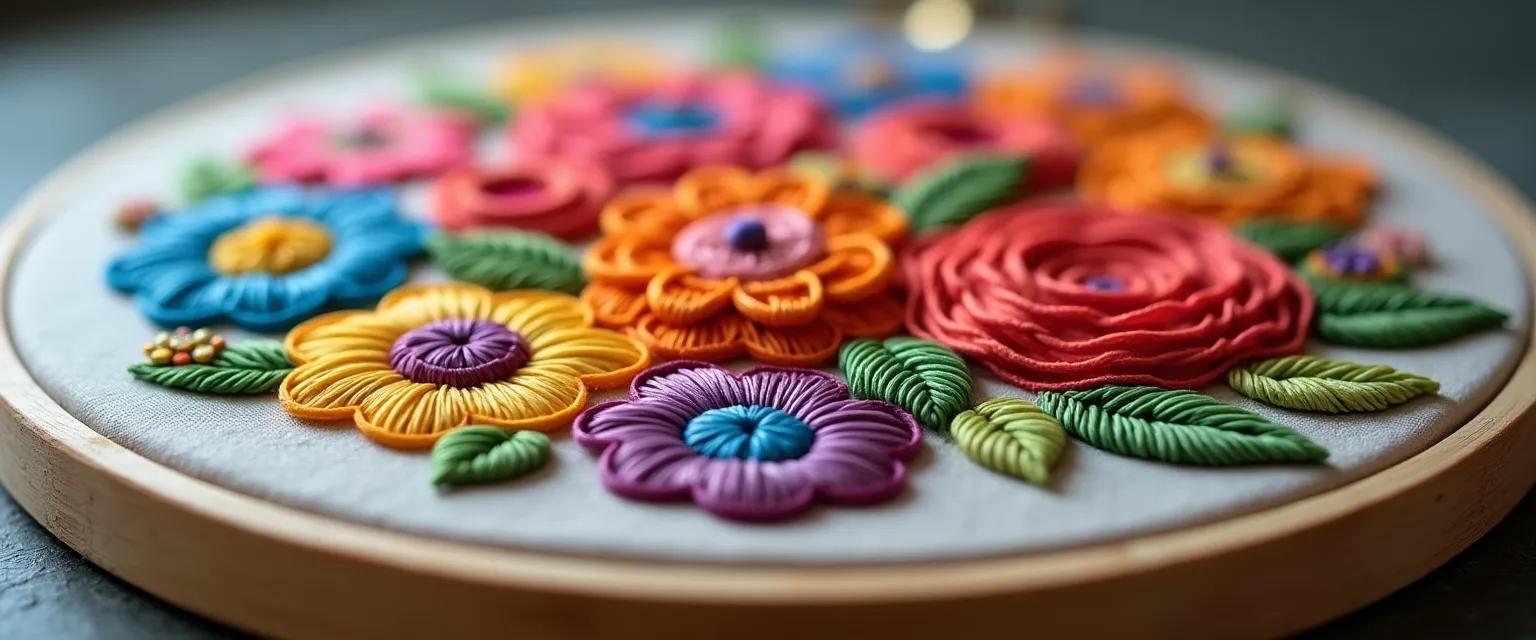
- Professional Appearance: Stitch logos exude a sense of quality and professionalism. The textured, three-dimensional effect of embroidery adds a touch of elegance and sophistication that printed logos can't replicate. This can significantly enhance the perceived value of your brand. A well-designed and professionally embroidered logo can make your company appear more sophisticated, established, and trustworthy.
Applications of Stitch Logos
Stitch logos are versatile and can be used on a wide range of items:
- Uniforms: Stitch logos on employee uniforms create a cohesive and professional look. This can be particularly effective in industries like hospitality, healthcare, and retail, where a polished appearance is essential.
- Hats: Embroidered hats are a popular way to promote your brand. They're a practical and stylish accessory that people will wear, showcasing your logo wherever they go.
- Merchandise: Stitch logos can be used on a variety of merchandise, such as bags, towels, and jackets. This allows you to create a range of branded products that your customers will love and use.
Adding a Premium Feel to Your Brand
A stitch logo can significantly enhance the perceived value of your brand. The high-quality, textured appearance of embroidery conveys a sense of craftsmanship and attention to detail. This can help you position your brand as a premium offering in the market.
Think of a high-end sportswear brand using stitched logos on their clothing. The durability and premium look of the embroidery reinforce the brand's commitment to quality and performance.
In conclusion, choosing a stitch logo design can be a smart investment for your brand. Its durability, professional appearance, and versatility make it an excellent choice for uniforms, merchandise, and more. By adding a premium feel to your brand, a stitch logo can help you attract new customers and build lasting relationships.

Key Considerations for Stitch Logo Design
Creating a stitch logo, also known as an embroidered logo, requires careful planning and attention to detail. Unlike printing, embroidery uses thread to create a design, which presents unique challenges and opportunities. Several key factors must be considered to ensure a high-quality and visually appealing final product.
Logo Complexity and Stitch Quality
The complexity of your logo significantly impacts the final stitch quality. Simple designs with bold lines and shapes generally translate best to embroidery. Intricate details, small text (less than 0.25 inches in height), and thin lines can be difficult to replicate accurately with thread. The embroidery machine uses a single line of stitch for smaller letters, and this will look unreadable on the final product. Also, thin lines may appear messy. Therefore, it is best to avoid including small details. Overly complex designs may result in a muddy or unclear image due to the limitations of stitch density and thread thickness. Keep the design simple and bold, ensuring it remains clear even from a distance. For instance, a modest design is around 7,000 stitches, while a complex one could easily exceed 20,000 stitches for a pocket-sized logo.
Choosing the Right Thread Colors and Types
Selecting appropriate thread colors and types is crucial for achieving the desired look and feel of your embroidered logo. Consider the color contrast between the thread and the fabric to ensure the logo stands out. Using too many colors in a small space can make the logo look chaotic. Limit your design to a few colors to maintain clarity and impact. Also, gradients, outer glows, and drop shadows can't properly be achieved through embroidery. There are primarily two types of thread used: rayon and polyester. Rayon thread offers a shiny, smooth finish, making it ideal for delicate clothing and corporate apparel. Polyester thread, on the other hand, is more durable and strong, often selected for industrial and sports team uniforms. Specialty threads like metallic, neon, or glow-in-the-dark can also be used to add unique effects.
Scaling a Logo for Different Embroidery Sizes
A well-designed stitch logo should be scalable to accommodate various embroidery sizes without losing clarity or detail. The typical size of embroidered logos varies depending on the location of the logo, the type of garment, and the size of the logo itself. Before embroidering a logo, it's important to consider where the embroidery will be placed and the best dimensions for that location. For custom embroidery logos embroidered on the left chest of shirts, the standard size is 2.5-4 inches wide by 1-2 inches tall. For custom embroidery logos embroidered on the sleeve, the standard size is 3-3.5 inches wide by 2-2.5 inches tall. For hats, the standard size is 1.75-2.25 inches wide by 4-5 inches tall. Different embroidery files are created for each product type because the designs vary in size, stitch density, and embroidery sequence. It is important to ensure that the logo remains legible and recognizable even at smaller sizes, such as on a hat or cuff. For larger applications, such as the back of a jacket, the design should scale up without becoming distorted or losing detail. If the logo is complex or has a lot of detail, it may need to be larger in order to be visible. Conversely, if the logo is simple, it may be able to be smaller.

Best Practices for Preparing Your Logo for Stitching
Getting your logo stitched onto fabric can be a fantastic way to promote your brand or add a personal touch to clothing and accessories. However, to ensure the final product looks professional and accurately represents your design, it's crucial to properly prepare your logo for the embroidery process. By following these best practices, you can avoid common pitfalls and achieve high-quality results.
Providing the Right File Format
The first and perhaps most important step is providing the digitizer with a suitable file. Embroidery machines don't work with standard image files like JPEGs or PNGs directly. They need a special file that tells them exactly where to place each stitch. That's why a high-resolution vector file is essential. Vector files, typically in formats like .AI, .EPS, or .SVG, are created using mathematical equations, which means they can be scaled to any size without losing quality or becoming pixelated. This scalability is crucial for embroidery, as your logo may need to be adjusted to fit different items or locations. Supplying a vector file ensures the digitizer has the best possible source material to work with, resulting in a cleaner, more precise stitched logo. If you only have a raster image (like a JPG or PNG), it is important to ensure that the resolution is at least 300dpi.
Communicating Size and Placement
Clear communication is key to a successful embroidery project. Accurately convey your desired size and placement to the digitizer. Provide specific measurements (e.g., "3 inches wide by 2 inches tall") and indicate where on the garment or item you want the logo to be stitched (e.g., "left chest," "center back," or "sleeve"). Supplying garment samples to the digitizer can be helpful.
Think about the item that you are having stitched and its features; depending on your garment, there may be limited space depending on the stitching or other features in the garment.
The Importance of a Test Stitch
Before committing to a full production run, always review and approve a test stitch. A test stitch is a sample of your logo embroidered onto a piece of fabric. This allows you to see how the design translates into stitches, check the colors, and assess the overall quality. Don't hesitate to request adjustments if you notice any issues, such as incorrect stitch density, thread tension problems, or misaligned elements. Approving a test stitch is your last chance to ensure the final product meets your expectations. Stitching out a sample allows you to identify and correct any issues, ensuring the final product meets your quality standards.
Testing your embroidery designs before mass production ensures quality and consistency.

Create Branded Images with Your Stitch Logo Using WhateverLogo
WhateverLogo helps you easily create branded images using your existing stitch logo. If you already have a fantastic stitch logo, Whether you're a seasoned designer or have never touched design software, WhateverLogo lets you generate professional-looking images in seconds, saving you valuable time and resources.
How does it work? Simply upload your stitch logo to WhateverLogo. Then, type in a description of the image you want to create. WhateverLogo uses AI to generate images featuring your logo in the scene you described. It's that easy!
Here's how WhateverLogo helps you showcase your stitch logo:
- Easy Image Creation: No design skills are needed! Just upload your logo and describe the image you want.
- Brand Consistency: Maintain a consistent look and feel across all your visuals, reinforcing your brand identity.
- Saves Time: Generate images in seconds instead of spending hours on design.
Use Cases for Stitch Logos with WhateverLogo
WhateverLogo can be used in various scenarios to promote your stitch logo and brand:
- Social Media Posts: Generate eye-catching social media graphics showcasing your stitch logo on relevant backgrounds and templates. Perfect for Instagram, Facebook, Twitter, and more!
- Marketing Materials: Create professional marketing materials like flyers, brochures, and website banners with your stitch logo. Easily promote your business with stunning visuals.
- Product Mockups: Visualize your stitch logo on different products like hats, shirts, and bags with realistic mockups. See how your logo looks on merchandise before you even produce it.
WhateverLogo empowers you to create consistent, branded visuals effortlessly. Focus on your craft, and let WhateverLogo handle the design work.
Ready to create amazing branded images? Try WhateverLogo today!
Conclusion: Stitch Logo Design - A Lasting Impression
As we've explored, stitch logo design offers a unique blend of durability, professional appeal, and brand enhancement. From understanding the digitizing process to choosing the right thread colors, a well-executed stitch logo can significantly elevate your brand's image and create a lasting impression.
Remember the importance of simplicity in design, careful color selection, and scalability for different applications. Preparing your logo with the correct file format and clear communication with your digitizer are crucial steps to ensure a successful outcome. A test stitch is always recommended to catch any potential issues before mass production.
Considering how impactful branded visuals can be, exploring tools like WhateverLogo can help you showcase your stitched logo in engaging and creative ways across your marketing materials. It's one way to take that carefully crafted design and let it work even harder for you.
Ultimately, investing in quality stitch logo design is an investment in your brand's long-term success. Take these best practices and considerations to heart as you embark on creating a stitched logo that truly represents your brand's identity and values.
Frequently Asked Questions
Q: What is stitch logo design?
Stitch logo design, also known as embroidery logo design, is the process of converting a digital logo into a format that can be read and executed by an embroidery machine. This involves a technique called "digitizing," where specialized software is used to map out the design into a series of stitches. The digitized file contains instructions for the embroidery machine, specifying the type of stitch, the path of the needle, thread colors, and density. The end result is a logo rendered in thread on a chosen fabric. A JPG or PNG file of a customer's company logo or artwork is converted into a special embroidery file. This process ensures the logo is accurately and durably represented on items like apparel and accessories.
Q: Why use a stitched logo?
Stitched logos offer several advantages. They are exceptionally durable and long-lasting compared to printed logos, resisting fading and wear even after numerous washes. The textured, three-dimensional appearance of an embroidered logo adds a premium and professional feel to garments, enhancing brand perception. Embroidered logos convey a sense of quality and attention to detail. This can increase the perceived value of the branded item and promote customer loyalty. The use of thread creates a richer, more upscale look compared to standard printing methods. This makes them ideal for corporate clothing, team-building tools that unite workers, promotional merchandise, and uniforms, projecting an image of refinement and unity. Unlike printed logos, stitched logos don't fade, crack, or peel.
Q: What file format is needed for stitch logo design?
Embroidery machines require specific file formats to interpret the digitized stitch pattern. The most common file format is DST, which is widely compatible with many commercial embroidery machines. Other frequently used formats include PES (primarily for Brother and Babylock machines) and EXP (used by Melco machines). These files contain detailed instructions about the stitch count, direction, density, and thread colors needed to recreate the logo accurately. Ensuring you provide the correct file format is crucial for a smooth embroidery process. It's best to confirm the preferred file format with your embroidery service provider to guarantee compatibility with their equipment, or the files can be converted using embroidery digitizing software.
Q: Can any logo be stitched?
While embroidery is a versatile branding method, not every logo is ideally suited for stitching without some adjustments. Highly complex logos with intricate details, very fine lines, or small text may not translate well into stitches. These elements can become distorted or illegible in the embroidery process. Logos with gradients or color shading can also pose challenges, as embroidery threads cannot perfectly replicate these effects. To ensure a successful outcome, simplifying the logo by removing tiny details and using bold, clear shapes is often necessary. Consulting with a digitizer early in the design process is helpful to assess the logo’s suitability and make any necessary modifications. Lettering in your brand can't be smaller than .15 inches.
Q: How much does stitch logo design cost?
The cost of stitch logo design varies depending on several factors. A primary consideration is the complexity of the logo; more intricate designs require more stitches, increasing the overall cost. The size of the logo also affects the price, as larger logos necessitate more stitching and thread. The number of colors used can impact the cost, with each additional color potentially adding to the setup and production time. Digitizers typically charge either per stitch (ranging from $1 to $3 per 1,000 stitches) or a flat rate based on the design's complexity. Average costs can be from $4 to $10 for a small logo (4,000 stitches), $8 to $20 for a medium logo (8,000 stitches), and $12 to $30 for a large logo (12,000 stitches).